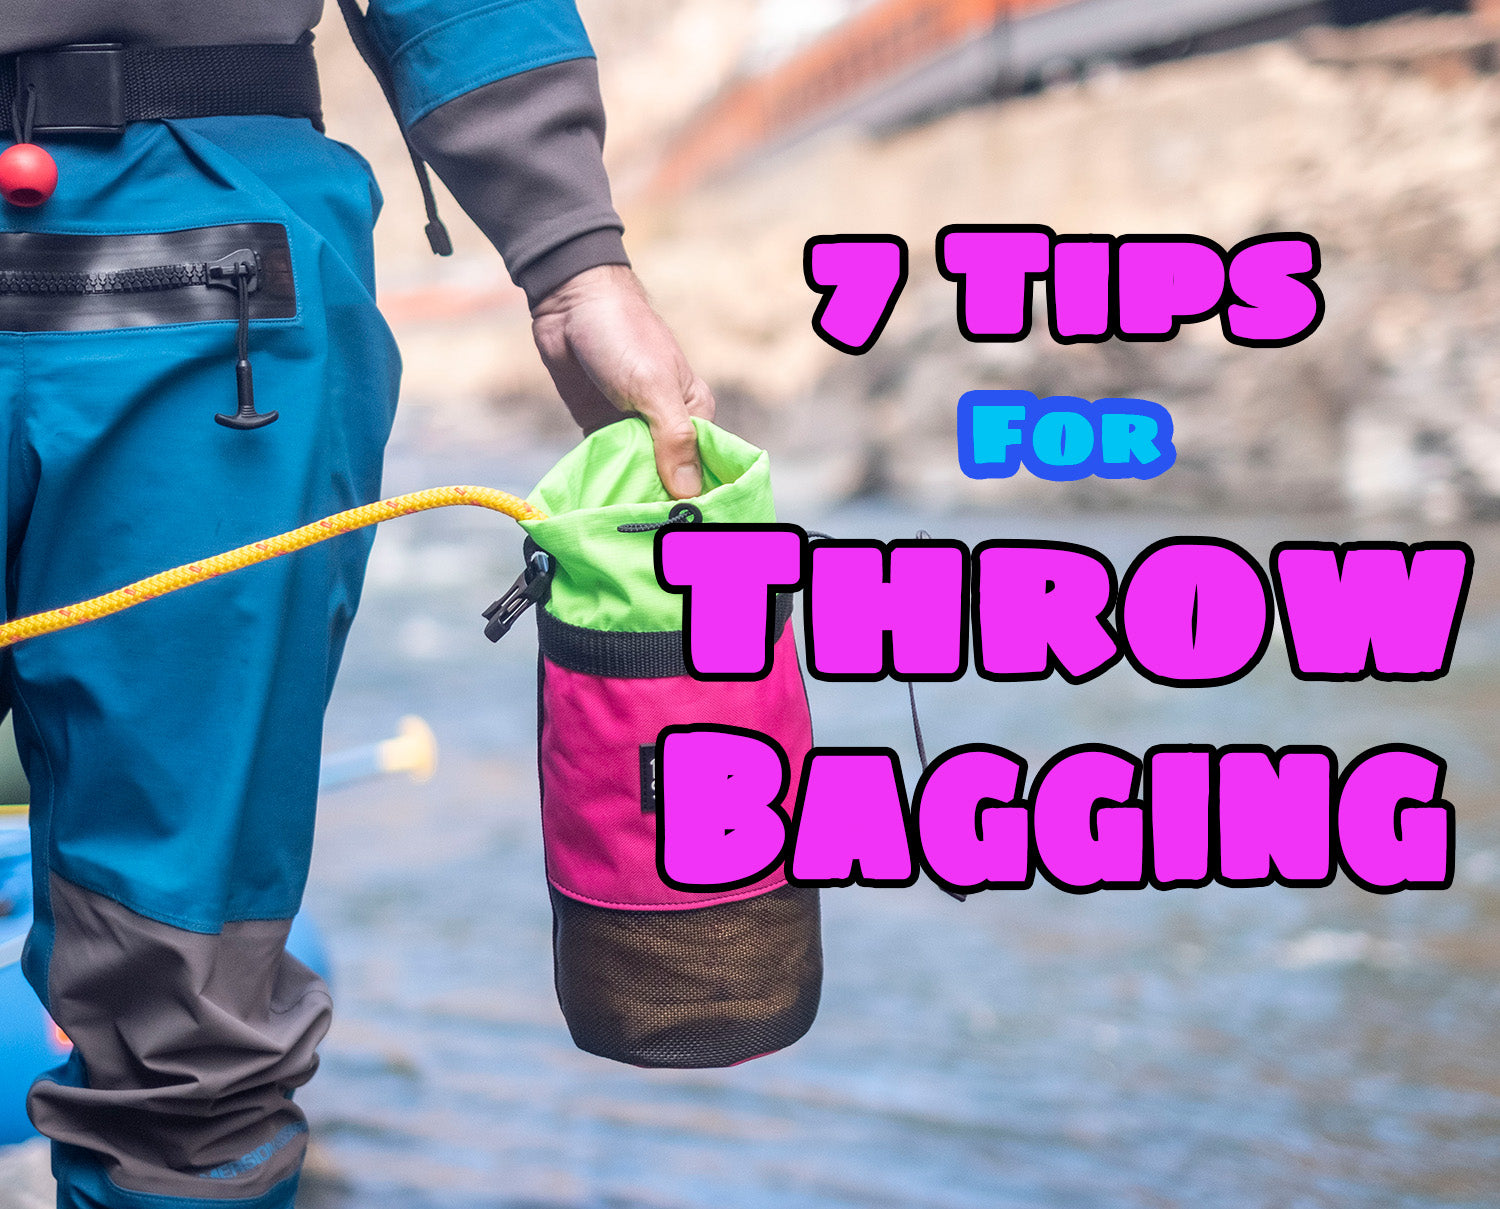
Introduction
Knowing when to get your throw bag out and when it's better not to, is a decision you will likely have to make at some point in your whitewater rafting career. Throw bags can be a great tool to help your friends or rafting partners out of a jam, literally. But there are also plenty of cases where it doesn’t make sense or actually makes a situation become more dangerous. Below we will go over 7 tips for using a throw bag for whitewater sports. This blog is not a replacement for swiftwater rescue training. If you are new to the sport, it's a great idea to do at least one course with a trained professional.
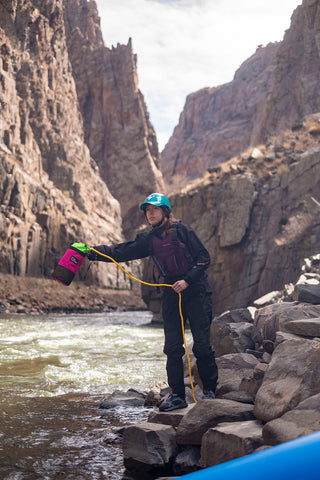
Finding the Right Spot
It is always a good idea to find the correct place to throw a throw bag. Most of the time you will set safety in advance. Having one person walk down the bottom of a rapid and wait with a throw bag is a smart move. This way, if there are swimmers, you have a person in position to help. When you get to the bottom of the rapid, find a good place to stand. Flat, level and dry ground is your best bet. If you are balancing on a slippery pointy rock and bag someone, odds are you are going to be joining them in the river. Another tip is to look at the river's obstacles and features. If there is a downed tree or strainer, that may not be a good place to throw a rope. Look for a place with open, slower moving water. If you bag someone in very fast moving water, they may pull you in when the rope is weighted. Also worth mentioning, is you should never throw a bag from a moving raft. This is an uncontrolled environment and can cause quite a lot more danger.
Bringing the Right Gear
There are so many types of throw bags out there. Knowing what type of bag to bring is best to know beforehand. Generally you have a few options: A classic throw bag, waist throw bag, and a Z-drag kit. The standard bag is a larger bag containing thick, strong rope, and has around 70 ft of reach. The captain of every raft should have one of these on their boat. A waist throw bag can be great to have on you. There are pro’s and con’s of using these hip style packs, but when used properly they can bring many advantages. Let's say you take a swim and lose all of your gear and your raft… If you had a waist throw bag on, at least you now have a rope. Or let's say you went to set safety and forgot your standard throw bag in the boat? With a hip pack, it will always be with you. There are a few con’s and safety concerns to keep in mind also. Having rope on your back, and swimming through a rapid can be more dangerous if you improperly use the throw bag or it comes open. You will want to frequently inspect your gear to make sure it is safe to use and functioning properly. The last type of rope bag you may need is a Z-Drag kit. These kits come with rope that is much stronger and made for leveraging sunken, heavy rafts out of the river or unsticking a wrapped boat. We will have more information on these in an upcoming post.
Throwing Ahead
This one may seem obvious, but remember that the river is moving. You are trying to hit a moving target out there. Make sure you lead your target and throw ahead of them so that they don’t miss the rope. Keep in mind you really only have one chance to get your safety line into a swimmer's hands. Take a second to focus, aim, and connect with them. Use your voice to call out to them “SWIMMER!” , and make sure they see that a rescue line is coming. Then throw.
Bagging a Swimmer
Once you have connected with your swimmer, you might have the urge to yell “fish on” but you need to be prepared and have a good solid stance and great footing. You are going to feel the weight of them pulling on you and the last thing you want to happen is to get pulled into the river with them, making the situation worse. Once you see them grabbing the end of the rope, you can now pivot them to shore. Mission accomplished. Another thing to keep in mind is that you never want to wrap the rope around your hand or any other part of your body. Tightly cinched rope can easily break your wrist, pull you into the water, and even entangle your body.
Reading the Situation
There are a few things to watch for once you have someone on the line. Make sure they have grabbed the rope properly and everything looks good. You want to make sure someone hasn’t been entangled in the rope. Also monitor the river features, if someone is headed for trouble, you may need to let go of the rope on your end, so you don’t make the situation worse. Keep an eye out for trees, strainers or anything else that could catch your rope. The goal is almost always to simply pivot the swimmer to shore.
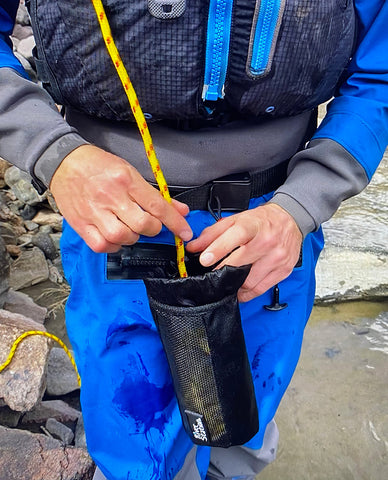
Re-Stuffing Your Rope
Now you have bagged your first swimmer! Give them a high five and check in with them to make sure they are doing well. Once you know they are well and the situation is safe you have two options, you can restuff your throw bag, or you can lasso it up for a quick reload. If there are more boats coming directly, you won’t have time to do a full restuff. In this case, neatly strand some of the rope into one hand, so that you can fire again if you need to rescue another swimmer. This isn’t as effective as starting with a fresh bag but it can come in handy with practice. If your group has all made it through the rapid, you can now restuff your throw bag. There are lots of options out there, but having a throw bag that is easy to stuff, can really make the whole process faster and easier.
Practice, Practice!
Take turns practicing throw bagging with your friend in a grassy park. This will help you understand and get a feel for how to throw accurately. You can use overhand throws with more compact throw bags or a classic bean bag underhand toss with larger ones. Next, take it to a calm river eddie where you and a friend can now practice in water, fairly safely. Now you will both get a feel for how it is to be on the end of the line and can practice the right techniques for when you are the swimmer. Grabbing the rope with both hands and laying it over your shoulder is a good technique to practice. Otherwise you end up with mouthfuls of water while being rescued.
Conclusion
There you have it. We hope you found this post useful if you are learning the basics of whitewater safety. As stated above, there is no replacement for real swiftwater training. There are so many different courses and classes all over the globe for learning these skills. Swiftwater courses are a great way to make some new river friends and learn life saving techniques. Both great things to have and you never know when you’ll need them!
By: Jason Caligaris Jr.
Share:
5 Tips for Dealing With Stinky River Gear
Inspecting and Protecting Your Whitewater Gear