There are so many kinds of throw bags out there. There are kayak throw bags, PFD throw bags, and classic throw bags. But what about waist throw bags? Are they essential pieces of gear? Or can you get away with clipping one in your boat or kayak?
In this guide, we’ll take an in-depth look at waist throw bags, how they differ from other types of throw bags, and the different styles you might find. We’ll consider the benefits and potential risks of carrying a waist throw bag.
How are Waist Throw Bags Different From Other Throw Bags?
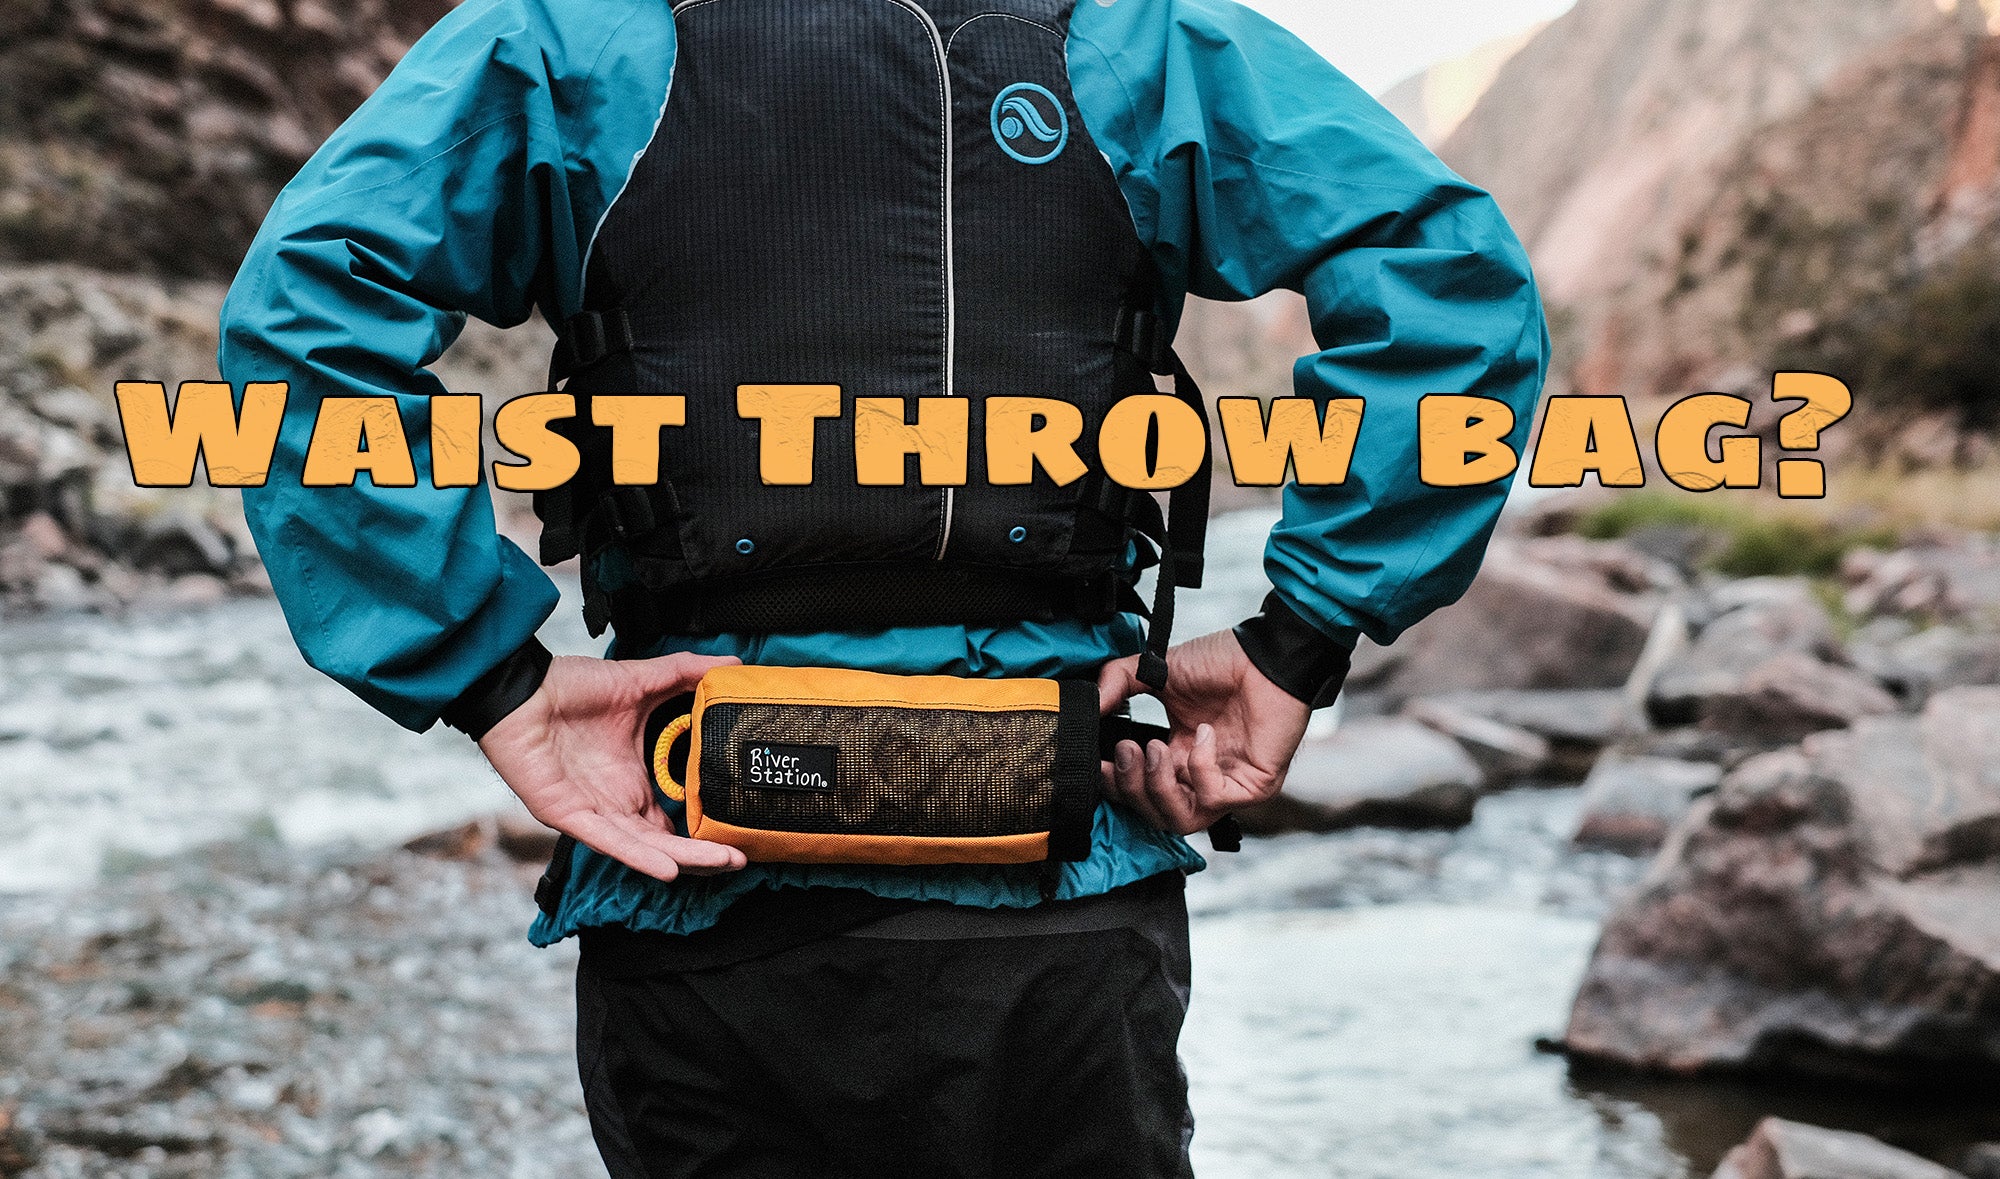
A Waist Throw Bag is a rescue throw bag you wear around your waist or hips. It’s different from a throw bag you carry in a few ways, specifically in size. We’ll break down these differences next.
Size
To fit under your PFD and allow you to sit comfortably, waist throw bags are smaller than other throw bags. In general, the bag itself is smaller, around 2 liters. A waist throw bag is the size of a kayak throw rope and, when outside the belt, fits perfectly in a kayak cockpit.
You can easily hold the smaller bags, making them easier to throw, especially if you prefer the side arm or over-hand throw technique. A smaller bag is excellent for accurately reaching swimmers.
Throw bags you carry are larger. Close to twice the size of kayak throw bags. They are bulkier and take up more space. A bigger, heavier bag is harder to throw (underhand toss is the way to go.) This style of throw bag also has its advantages.
Rope Diameter
Both types of bags have the same kind of high-visibility floating rope. Most bags contain polypropylene rope, but a smaller bag has a smaller rope diameter. For example, larger bags have thicker ropes, usually 3/8“ in diameter. A 3/8“ polypropylene sheath throw bag rope has a tensile strength of around 1,800 lbs.
On the other hand, smaller throw ropes will have a smaller diameter rope. Waist throw ropes generally contain 1/4“ rope. A rope of this diameter still has a breaking strength of 1700 lbs. A smaller diameter rope might be more slippery, especially in wet hands.
*A knot in the line reduces tensile strength. We make no guarantees of a rope’s strength
Length
A waist throw bag will have less rope compared to a larger bag. A classic throw bag will likely contain 65-70’ of rope. Longer lines are suitable for tying off your raft, lining boats, or setting up rope systems. But the longer the rope, the longer a swim might be, and more entanglement hazard is introduced into moving water.
Waist or kayak throw bags generally contain 55’ of polypropylene sheath rope. The advantages of a shorter rope include improved throwing accuracy, greater control when rescuing swimmers, and less rope in the river.
Are Waist Throw Bags Entanglement Hazards?
Around 70% of river guides surveyed use a waist throw bag. Those who don’t often cite entanglement concerns. There is always a risk associated with ropes and moving water. However, hours of scouring the American Whitewater Database only revealed one incident of a guide getting caught on his throw bag.
Although there is a chance of rope feeding out of your bag, most waist throw bags on the market today include a jam-lever quick-release waist belt buckle like the ones found on live-bait belts and Type V Whitewater Rescue jackets. There are other ways to mitigate entanglement risk including:
Practice
As you would with your live-bait quick-release buckle, practice finding and pulling the ball tab on your throw bag waist belt. Wear the waist belt the same way every time, so you know what side of the bag the pull tab is on, even in an emergency situation.
Sometimes the waist belt and throw bag get turned around. Practice finding the tab with the bag in front of you, at your side, and behind you.
Use the Belt and Bag Correctly
When used correctly, it is extremely unlikely that your waist belt won’t release or that the throw bag will feed out the rope. Make sure you thread the webbing through the buckle correctly, so there are no twists. You should also trim and burn extra webbing to ensure the waist belt fits properly.
When restuffing your throw rope, make sure to cinch the mouth of the bag all the way down. Don’t leave any rope outside the bag. Sometimes leaving the end outside the mouth makes it easier to find. With a waist throw bag, it’s best the keep the full length of rope inside of the tightly cinched bag.
Avoid Certain Models
If you’re still concerned about rope feeding out, look for a model that fully encloses the throw bag like a zippered pouch. Depending on how the throw bag attaches to the waist belt (more on this below), the rope is more or less likely to feed out.
The unfortunate guide who got stuck on his throw bag had a backpack-style release buckle. The report warns against that type of waist belt. Avoid models with backpack three-pronged release buckles as well.
Remember, it is still very unlikely if you use the bag correctly and know where your quick-release tab is.
How do Waist Throw Bags Attach?
There are a variety of methods for attaching the rope bag to the quick-release waist belt. Most systems involve an external bag and the rope bag, also known as a two-piece throw bag. Here are a few different waist belt attachment styles and their pros and cons.
Zippers
The zipper style of attachment involves a zippered pouch on a quick-release waist belt. The external pouch fully encases the throw bag, protecting it from the elements. Some zippered styles come with extra pockets.
Pros
- The throw bag won’t fall out. Even after an epic beatdown. (When used properly).
- The waist belt doubles as a bag or fanny pack.
- No chance of rope feeding out.
Cons
- Slower release.
- Bigger profile.
- Zippers don’t like silty water.
Velcro
Velcro belts are similar to zipper-style belts. The throw bag lives inside an external bag with a velcro closure. Some styles combine zippers and velcro in the external bag.
Pros
- Fast release
- Throw Bag is protected
Cons
- Velcro flap can catch and rip open.
- Velcro attracts dirt, lint, or silty water, which compromises its performance.
- The rope could feed out.
Buckle + External Bag
With a buckle waist throw bag, there are a few varieties available. In some, the throw bag sits inside an external pouch that closes with a buckle. In other versions, the throw bag itself attaches to the waist belt via three-pronged plastic buckles. We’ll look at the external bag style first.
Pros
- Fast release.
- Won’t spontaneously unbuckle.
- The throw bag is protected by the external pouch.
- Dirt or silty water won’t affect buckle performance.
Cons
- Buckles are tricky with cold fingers.
- Plastic buckles sometimes break.
- The external pouch doesn’t fully close and can’t be used as a side-hike bag.
- Chance of rope feeding out of buckle flap.
Buckle to Waist Belt
In this style, the throw bag itself attaches to the waist belt with two buckles or a buckle and a hook. This style is the fastest release option available because you don’t have to take the throw bag out of an external bag. The throw bag is already in your hand.
Pros
- Fastest possible release.
- Low profile.
- Throw rope can breathe and dry without the external bag.
- Buckles keep the throw bag secure even through long swims and recirculation.
Cons
- Throw Bag is exposed to the elements
- Buckles are hard in the cold
- Chance of rope feeding out (when used improperly).
Waist Throw Bag Benefits
Whichever style you prefer, whether you’re out kayaking or rafting, commercially or on a private trip, there are several benefits to carrying a waist throw bag.
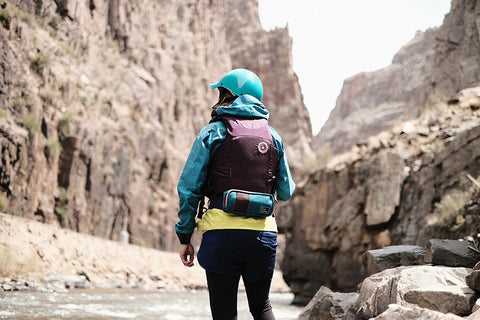
Hands-Free Carry
Carrying a classic throw bag means you have one less hand to navigate the riverbank. While walking to a scout or setting up safety, it’s better to have your hands free, especially in rocky or uneven terrain. Waist throw ropes won’t get in your way but is there when you need it.
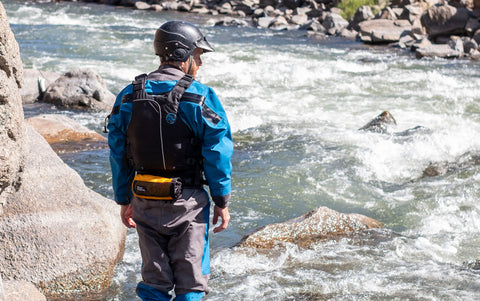
Accessible
In fast-moving rescue scenarios, you want to know where your throw bag is at all times. If it’s on your waist, you always will. A waist throw bag is always available and easy to deploy. Especially commercial guides, who are in and out of their rafts all the time, can benefit from having a throw bag on them.
Reliable
Never say, “Where is my throw bag,” again. A waist throw bag is reliable (if you remember to wear it). It’s always in the same spot when you need the most. You’ll suddenly rescue a lot more people when you know where your bag is and can throw it at a moment’s notice.
Do I Need a Second Throw Bag if I Have My Waist Throw Bag?
Yes! A waist throw bag is a great resource. It allows you to act quickly in a whitewater rescue situation. There is no substitute for knowing exactly where your bag is and being able to deploy it quickly.
As good as waist throw ropes are for getting people out of the water or unpinning a kayak, they won’t work in a wrapped boat situation. If you need to set up a z-drag or create an anchor, you’ll need a longer rope with a higher tensile strength.
In other words, at least one person on a trip should have a second, larger throw bag with at least 65’ of rope. Carry this bag in addition to your waist throw bag or kayak throw rope. Keep the larger bag in an accessible spot in your boat.
So Do You Need a Waist Throw Bag?
Obviously, we think you do need a waist throw bag. But don’t take our word for it. Look at the facts: Waist throw bags offer a convenient and accessible rescue rope for fast-moving situations. You can carry them and use your hands, and they’re always right where you wear them.
The risks of wearing a throw bag are low and even lower when you use your gear correctly and avoid certain models. When paired with a larger, longer bag, a waist throw bag is a great tool. See for yourself!
By: Megan Young McPartland
Check out our waist throw bags!


Share:
5 Ways to get Involved in your Local Whitewater Community
Raft Guide Superstitions